Category: Sin categoría

  • Differential Indexing Using the Dividing Head

    We use Differential indexing when it is not possible to make an equidistant division with direct indexing method with a dividing head.

    This metod is usefull especially for numbers or prime values greater than 50.

    Differential Indexing

    We use a system or gear train that is interposed between the main spindle and the dividing plate spindle.

    This gear train links the two spindles, allowing the gear system to make the division of the prime number of divisions to be made.

    Formula for finding the gear train for making the differential indexing


    X = 40(N’ – N)/N’ = R/R’

    Process

    1. Choose an approximate value (N’) to the number of divisions (N), which you want to divide and of which there is a way to find the direct indexing.
    2. With the previous value (approximate value N‘) do the direct indexing, i.e. find m = 40/N’ to find the number of circles of holes of the dividing plate and the opening of the sector arms.
    3. Apply the formula: X = 40(N’ – N)/N’.
    4. With the previous value (X), find the gear train that is to be mounted on the milling machine’s banjo and that connects the two spindles of the dividng head.

    EXAMPLE

    Now, let’s see at an example of Differential indexing with the calculation to produce 51 equidistant divisions. There is also a dividing head with a standard ratio of 40:1.

    Known data

    1. Here, you can choose an approximate value above or below the N value which is equal to 51 divisions. In this case I will choose N’ = 50. Also, with this value we can found the direct indexing method easy.
    1. Now, we proceed to make the direct indexing of 50 divisions to find the number of holes in the disks of dividing head and the number of turns of the crank handle, then:

    m = 40/N’
    m = 40/50, if we simplified by taking out the tenth part:
    m = 4/5, now amplifying the previous fraction to match the perforated discs available for installation on dividing head:
    m = 4(4)/5(4), i.e. the fraction by 4 is amplified:
    m = 16/20

    We must mount the disk that containing 20 divisions on the dividing head and open 16 spaces on it by opening the arms sector.

    If we left the dividing head like this we would get 50 divisions, but we need 51 divisions, then the 1 that we need we find or compensate with the gear train (X) that we will calculate next:

    1. Apply the formula:
      X = 40(N’ – N)/N’ = R/R’. Replacing values:
      X = 40(50 – 51)/50
      X = 40(-1)/50
      X = -40/ 50, Simplifying:
      X = -4/5 = R/R
    2. Finding the Gear Train for making the Differential Indexing.
      with the previous value (X) = -4/5 you must find the four gears that connect the two spindles of the dividing head and that allow to compensate the missing division found in step 2, then:-4/5

    If the following values are available for the milling machine’s banjo set:

    24, 24, 28, 32, 40, 44, 48, 56, 64, 72, 86 and 100 teeth, then:

    if we break down -4 / 5 like this: -2 X 2 / 5 X 1 , if we multiply -2 by 8 in the numerator and 5 by 8 in the denominator, then:

    -16 X 2 /40 X 1, if we multiply 2 by 16 in the numerator and 1 by 2 in the denominator:

    -32 X 2 / 40 X 2, if we multiply 2 by 12 in the numerator and 2 by 12 in the denominator:

    32 X 24 / 40 X 24 = R/R

    Then R, are the conductive gears and R’ the driven gears.

    We have these values in the milling machine’s banjo set, so we have reached the end of the calculation.
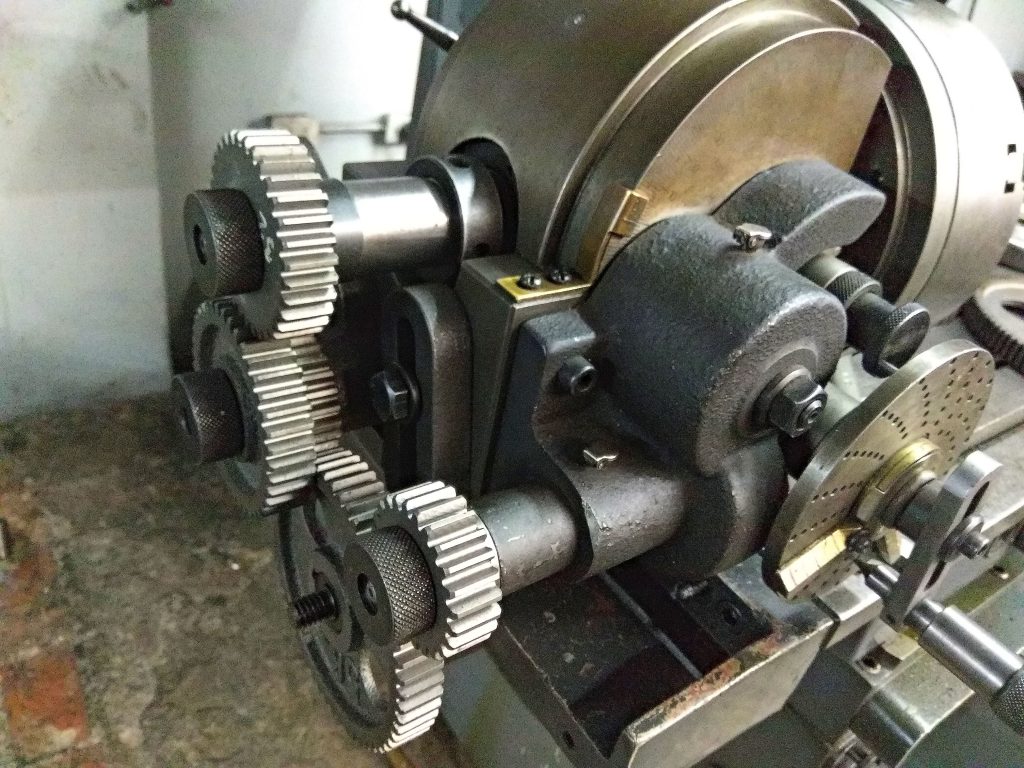
    The negative sign of the expression, means that you have to insert an extra intermediate gear between these 4 gears, this gear can be of any value and for this example I used the 56 teeth. With this intermediate gear, there is a movement of the dividing disc opposite or in opposite sense to the movement of the crank handle of the dividing head.

    The arrangement of the gears is as follows:

    We mount the 32 tooth gear (driver) on the dividing head spindle and engages with the 40 tooth gear which is a driven gear.

    We mount the 24-tooth gear (driver) together with the 40 tooth gear and engages with the 56-tooth intermediate gear.

    And finally, this gear engages with the 24-tooth gear mounted on the disc spindle, which is a driver gear.

    If the result of X is positive, then only the four gears that are normally calculated should be used and the intermediate gear should not be used.

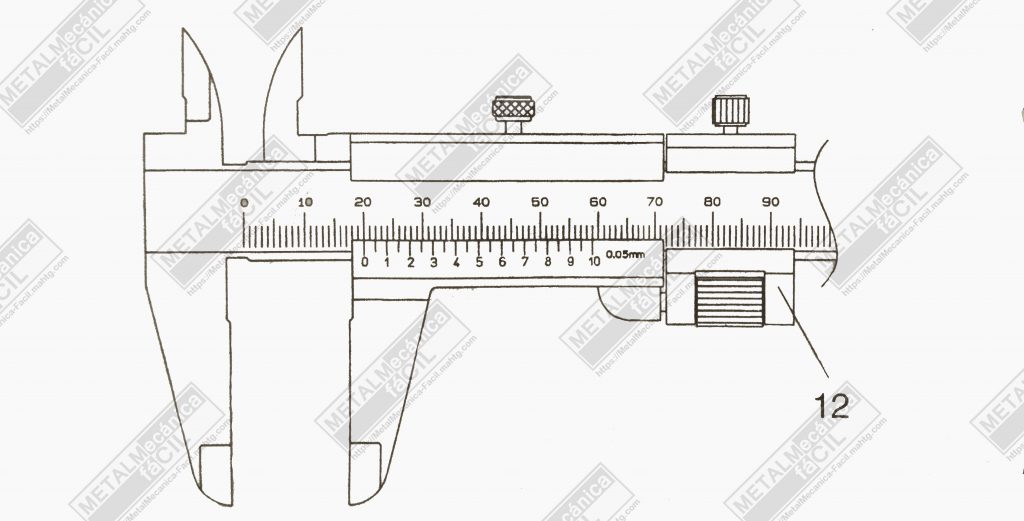
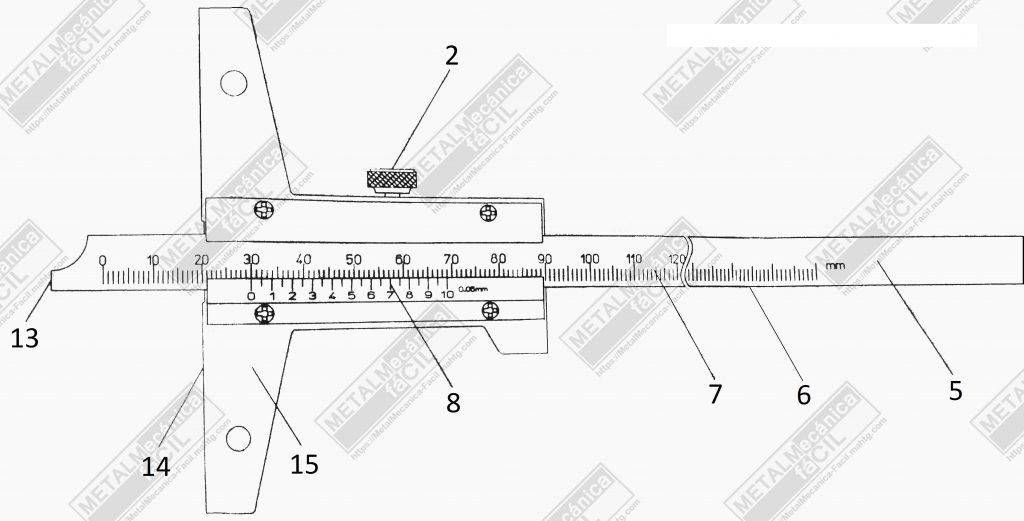
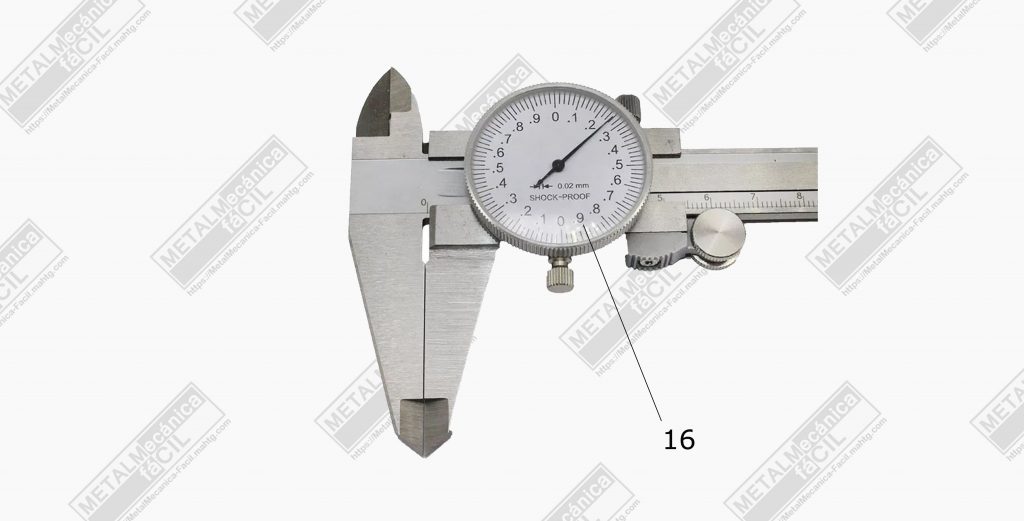
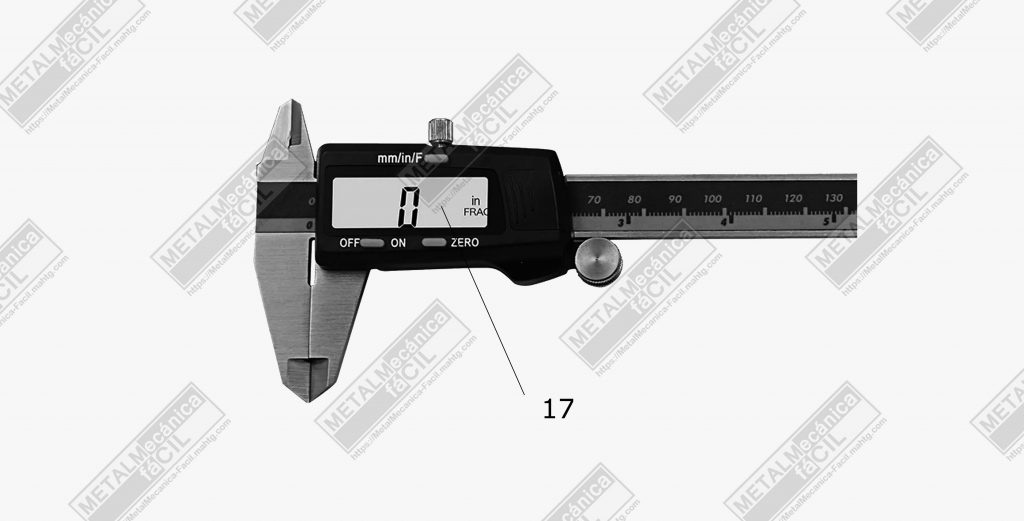
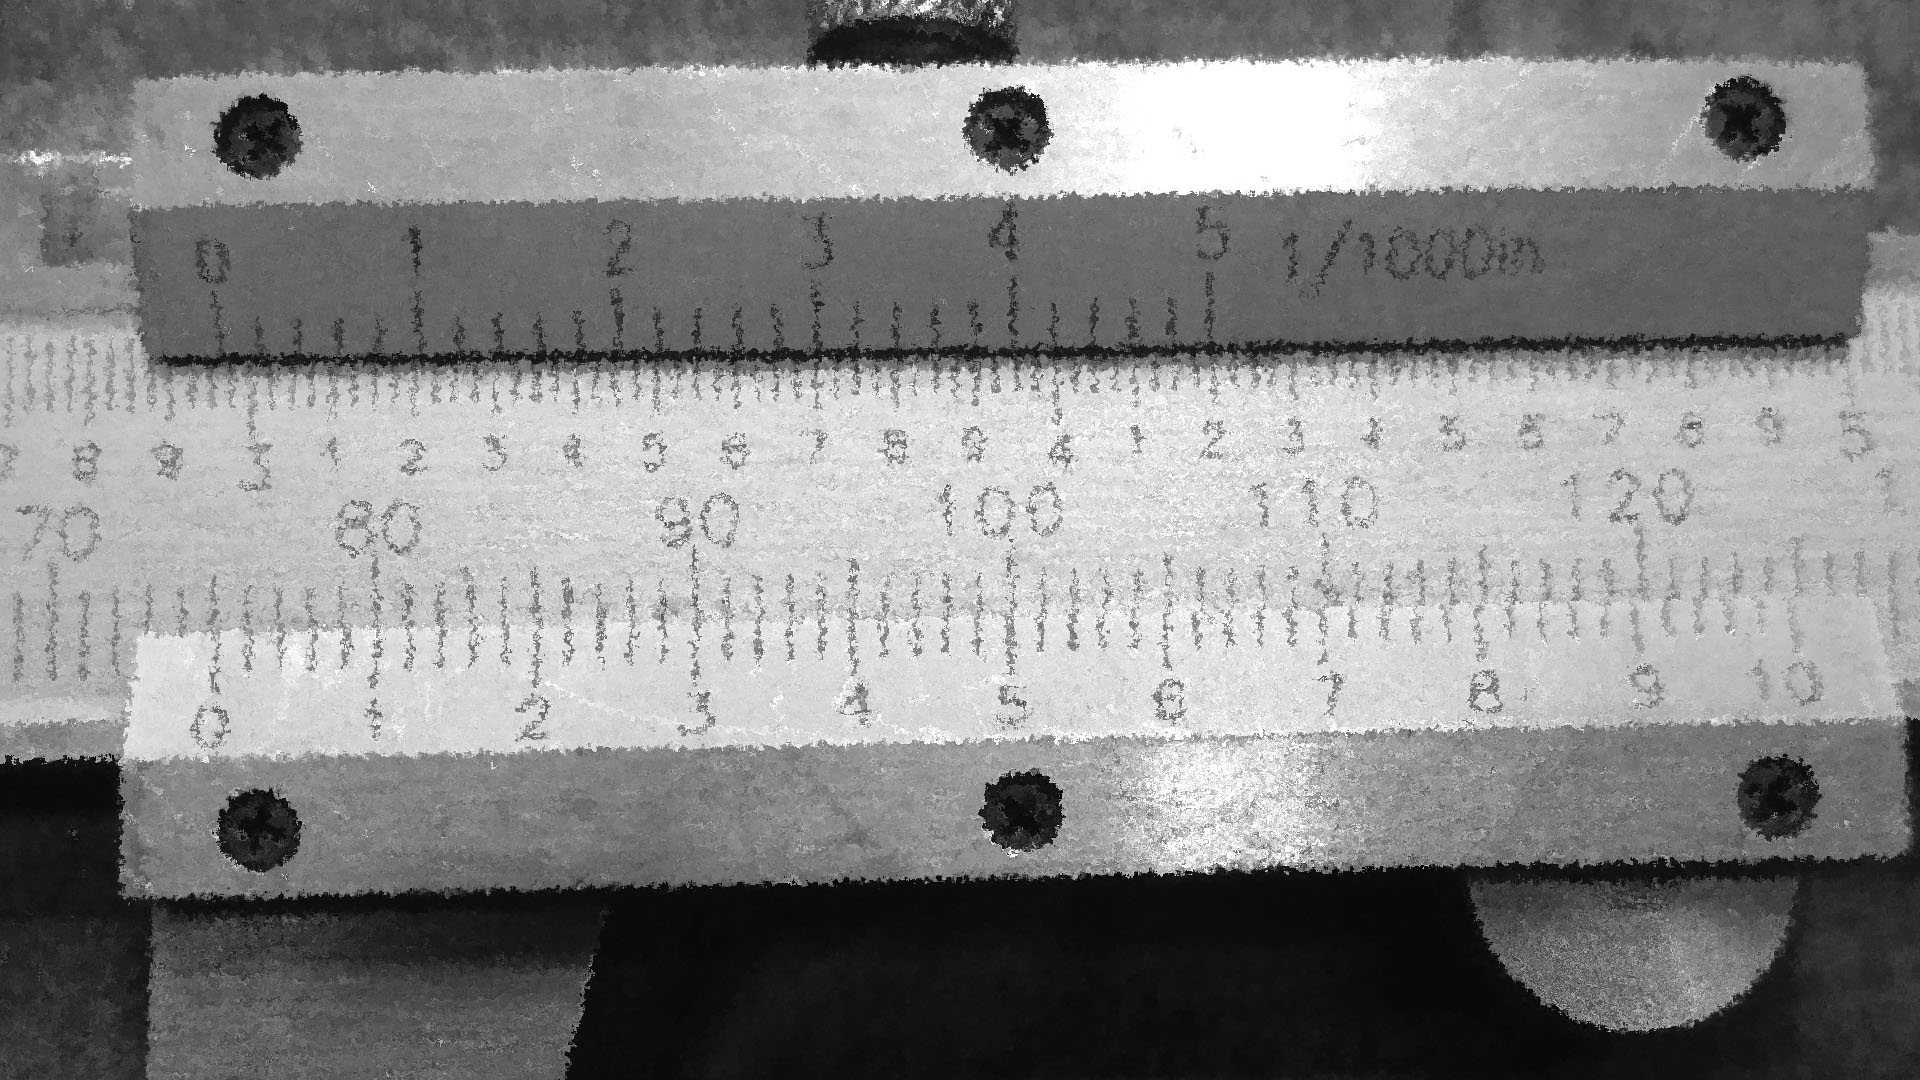
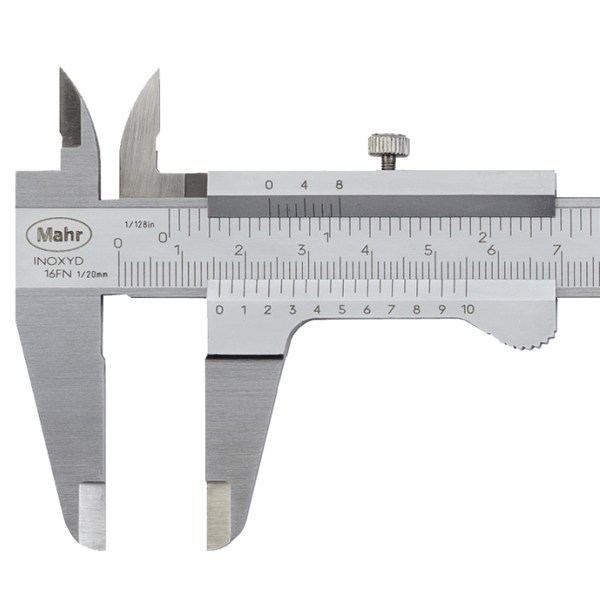
    Maybe you are interested in: What is a Vernier Caliper and What is it For?

    And something very important, it is necessary to remove the fixing pin of the perforated hole plate from the body or housing of the dividing head so that the plate with the hole plate is free, that is, when turning the crank handle of the dividing head it will turn together with the plate.

    Well friends, with this I come to the end of this article.

    I hope you liked it and it served, and as always, if you liked this information, please remember to rate this post, with the highest score in the stars that are right here below.

    Remember to subscribe in my channel: YouTube

  • What is a Vernier Caliper and What is it For?

    To the question: What is a Vernier Caliper? You can be answered with a large amount of information.

    Vernier Caliper

    The vernier caliper is a measuring instrument of high precision used to measure small distances and measuring both millimeters and inches.

    This instrument is made of hardened and rectified stainless steel in addition to a special paint that allows correct and easy visualization between the numbers and their divisions.

    Mechanical Parts:

    1. Inside measuring jaws.
    2. Clamp screw.
    3. Slider.
    4. Depth bar.
    5. Main beam.
    6. Reference surface.
    7. Main scale.
    8. Vernier caliper scale.
    9. Outside measuring jaws.
    Vernier Outside Measuring Jaws
    1. Step measuring face.
    Vernier Caliper Parts
    1. Thumb clamp.
    Vernier Caliper with spring
    1. Fine adjustment.
    Fine Adjustment Vernier Caliper
    another fine tuning vernier caliper
    1. Measurement face
    2. reference surface.
    3. Base.
    Depth Vernier Caliper

    16. Dial gauge

    Dial Gauge Venier Caliper

    17. Digital display.

    Digital Display Vernier Caliper

    Vernier Caliper Functions.

    This instrument generally has three main functions: The first function is to take outside measurements by using the longer jaws. The second function is to take inside measurements by means of the smaller jaws and the last function is designed to read or take depth measurements.

    When the caliper exceeds a certain length, generally more than a foot (30 cm.), it only has the main jaws, that is, it allows taking otside readings, however, on the edge of the jaws, it has a recess that allows reading inside measurements. This type also has a system that allows a very fine adjustment of the measurement and that is made up of a very small step screw and a nut.

    Parts Involved in Reading

    The vernier caliper is made up of two main reading parts, one part is the main scale or ruler, which is graduated throughout the body of the instrument, it can be in a single system of measurements, such as metric or inches or both.

    And the other part that complements the reading of the main scale or rule is the vernier scale.

    This instrumet allows to take exact and very small fractional readings of the unit from which the reading is being taken.

    Kinds.

    There are different kinds of vernier calipers, among which can be distinguished, the conventional analogue vernier caliper, that is, one with a main scale and a common vernier scale.

    The vernier caliper with dial gauge, which instead of having a vernier scale has a dial or a dial gauge, usually this type comes in a single measurement system and has a lot of precision and a very small appreciation. Appreciation is the smallest amount of measurement that can be read on a vernier caliper.

    And the digital type which, like the previous ones, has a main scale, a screen where the reading is shown and buttons with which the unit can be turned on, zero the reading and change units (millimeters or inches ), as well as a port for data output.

    In addition, among analog vernier calipers, there are also several classes, especially in relation to measurement accuracy, for example, the instrument that has an appreciation of 1/128 in or 0.05 mm., The one that measures in 0.001 in, or thousandths of an inch and the one that measures by 0.02 mm.

    There is also a vernier caliper that is very used and it is the instrument to measure depths, this is made up of a ruler that is the main scale, a vernier scale that is part of the body in a “T” shape.

    In this vernier caliper, the main scale is slid over the “T” and depth measurements are obtained.

    And the last vernier caliper that I know of, is the one used to measure gears, it is made up of two vernier calipers located at 90 °, with one vernier caliper the height of the tooth is located and with the other, the width or thickness of the tooth is located. in the pitch diameter of the gear.

    How do you read a value in the vernier caliper?


    As I said before, there are several types or kinds of vernier caliper in terms of how to present the reading, here I leave several links for you to visit, in which you can learn how to do readings.

    Reading fractional inch on the vernier caliper.

    Millimeter reading on the vernier caliper.

    Vernier Caliper Precautions

    Excessive Measuring Force.
    Do not apply excessive force to the workpiece. Excessive measuring force will develop measurement error because of the positional deviations of the jaws. It is not necessary to apply excessive force when measuring, this causes an error due to the deviation of the jaws.

    Excessive measuring force

    Parallax Error
    Take reading of the vernier/main scales in a viewing direction perpendicular to the measure poin of the scales. Parallax error ΔX is caused when viewed in the direction of A. If viewing in an oblique direction is not avoidable, it is recommended to use parallax free vernier calipers.

    Parallax error

    Outside Measurement.
    Put the workpiece as close to the reference surface as possible, and have the measuring faces fitted with the workpiece.

    Inside Measurement.
    Put the inside jaws as deep as possible and have the measuring faces fitted with the workpiece.
    (1) Take the maximun reading (I.D.)
    (2) Take the smallest reading (Groove)

    Inside vernier caliper errors

    Depth measurement:
    Set the depth bar perpendicular to the measured surfaces.

    Depth measurement error

    Step measurement:
    Have the step-measuring-face fitted with the measured surfaces.

    Positional error:
    Measurement position of the large size vernier caliper should be consistent if positional error is to be avoided. Measurements in vertical position may differ from those horizontal position.

    Safety warnings when handling a vernier caliper

    The outside and inside measuring jaws of this caliper have a sharp edge. Handle it with great care to avoid injury.

    Do not measure the workpiece if it is rotating. Risk of injury by being caught in the machine tool.

    Some important aspects to keep in mind.

    Before measuring, wipe chipping/dust/dirt off the sliding surfaces, measuring faces and graduated surfaces.

    Before taking measurements with the vernier caliper, make sure that zero lines of the vernier and main scales coincide when the jaws are closed and there is no slit observed between the jaws against the light.

    Before taking measurements with the depth gage, make sure that zero lines of the vernier and main scales coincide when the measuring face and reference surface are set even on a surface plane.

    Do not use the vernier caliper on rotating workpiece; this is dangerous and measuring faces will be worn out.

    Apply clean oil to the sliding surfaces especially the reference surfaces. Lack of oil cause scratches on the critical surfaces, resulting in unsmooth slider movements.

    And finally, vernier caliper Quality.

    Here I speak from experience, throughout my career as a machinist, I’ve run into lots of vernier calipers, and therefore with many qualities, obviously a vernier caliper brand such as for example: Mitutoyo or Starrett, do not present any problem in terms of quality, since when you buy a vernier caliper from these manufacturers, in addition to utility, quality, reliability and duration, you have the guarantee of a maximum precision instrument.

    And on the other side, there are the cheap venier calipers, those that have “Screws” to fix the vernier scale to the body of the vernier caliper, and the truth is that these do not work but, why are they not useful?

    We agree on one thing, time is valuable in everything, especially in the workshop, but if you have time to adjust these small screws that almost always loosen and also align the zero lines of the vernier scale with those of the main scale, so a cheap vernier caliper is a solution.

    Now, there are medium quality venier calipers that do not have screws in the vernier scale (monoblock), these present a good quality, in fact they are the ones that I recommend in terms of value for money.

    Well friends, with this I come to the end of this article. I hope you liked it and it served, and as always, if you liked this information, please remember to rate this post, with the highest score in the stars that are right here below.

    YouTube

  • How to Copy a Metric Helical Gear

    In this post I want to share with you: How to Copy a Metric Helical Gear from another one, that is, we are going to copy the data of a helical gear that we have to repair.

    Copy a Metric Helical Gear

    The steps are as follows:

    1. Count the number of gear teeth (Z)
    2. Measure the outside diameter of the gear.(Od)
    3. Take the angle of the outside helix.(oα)
    4. Calculate the approximate module. (aM)
    5. Calculate the helix angle.(α)
    6. Calculate the normal module. (M)
    7. Corroborate the calculations.
    8. Calculate the helix pitch or Lead of the gear. (L)
    9. Calculate the helix angle in the outside diameter.(oα)

    Plus we’ll need:

    • A Degree Protactor.
    • A Rule,
    • A Pen.
    • A Pen Marker.
    • A Sheet of paper.

    Procedure for Copy a Metric Helical Gear :

    Step 3: Taking the angle of the outside helix (oα):

    Draw a straight line on the sheet of paper using the ruler and pen. This straight line will serve as a guide for placing the ruler on it.

    Draw a straight line on the sheet of paper

    Paint three or four gear teeth with the pen marker, to obtain the mark left by the gear teeth on the sheet of paper.

    Paint three or four gear teeth with the pen marker

    Place the gear on the sheet of paper and with the help of the ruler, exert a slight pressure and a forward movement in order to paint the gear teeth on the sheet of paper.

    Place the gear on the sheet of paper

    Extend the mark left by the gear teeth with the help of the ruler and the pen and finally, measure the angle with the degree protactor.

    measure the angle with

    In this case the angle is 21°30′ approximately.

    The helical gear in this example has the following data:

    1. Number of gear teeth (Z) : 25
    2. Outside diameter (Od) : 71.5 mm.
    3. Angle of the outside helix.(oα) : 21°30′

    Now we have to calculate the approximate module. (aM), using the following formula:

    aM = (Od/(Z/(Cos oα)+2))

    Now, we must to replace the data in the formula:

    aM = (71.5/(25/(Cos 21°30′)+2))
    aM = (71.5/(25/0.930417568)+2))
    aM = (71.5/(26.86965601+2))
    aM = 71.5/28.86965601
    aM = 2.4766

    This value: 2.4766 is an approximate value of the module (M), but we need to find the value of the angle in the pitch circle of the gear that is the real value for the calculations, then with the following formula we can be very accurate and find the correct value of the helix angle:

    correct value of the helix angle

    Tan α = (Tan oα (Od -2aM))/Od
    Tan α = (Tan 21°30′(71.5 – 2(2.4766)))/71.5
    Tan α = (0.393910476(71.5-4.9532))/71.5
    Tan α = (0.393910476(66.5468))/71.5
    Tan α = (26.213481664)/71.5
    Tan α = 0.366622121
    α = Arc tan 0.366622121
    α = 20.1340536

    So, this value is really equal to 20°

    Finally, Alpha’s value is 20°

    Now we can calculate the correct value of the normal module, based on the angle of the helix in the pitch circle, using the following formula:

    M = (Od/(Z/(Cos α)+2))
    M = (71.5/(25/(Cos 20°)+2))
    M = (71.5/(25/(0.939692621)+2))
    M = (71.5/(26.604444312+2))
    M = 71.5/28.604444312
    M = 2.499611572 really, Module is 2,5

    Now, to corroborate that the calculation of the helix angle and the gear module are well done, we will calculate the helical gear with the data we just found; i.e. Normal module = 2.5; Number of teeth = 25; and Alpha = 20°, then:

    Transverse Module (tM)
    tM = M/cos α
    tM = 2.5/cos20°
    tM = 2.5/0.939692621
    tM = 2.66

    Pitch Circle (pC)
    pC = tM(Z)
    pC = 2.66(25)
    pC = 66.51 mm.

    Outside Diameter (Od)
    Od = pC + 2(M)
    Od = 66.51 + 2(2.5)
    Od = 66.51 + 5
    Od = 71.51 mm.

    This data of the outside diameter corresponds exactly to the measurement that we take directly from the gear, whose diameter with the caliper is 71.5mm

    Maybe you are interested in: How to Convert Millimeters to Fractional Inch Known

    Finally, let’s calculate the helix pitch or Lead of the gear. (L):

    L = Pi(pC)/tg α
    L = 3.1416(66.51)/tg20°
    L = 208.947816/0.36397023427
    L = 574.08 mm.

    Now, to be completely sure that the calculation is correct, we will calculate the the helix angle on the outside diameter of the gear, but already with the known data, that is, with the helix pitch, and the outside diameter of the gear.

    tan α = π(Od)/L
    tan α = 3.1416(71.51)/574.08
    tan α = 224.655816/574.08
    tan α = 0.39133189799
    α = Arctg 0.39133189799
    α = 21°22’18.84”

    this value: 21°22’18.84” is the angle that we got with the degree protactor on the sheet of paper, but exactly.

    I hope this information is useful and helpful to you.

    If you liked the information you just saw, then rate me with the highest score in the stars section right below this post.

    Thank you.

    YouTube

  • Vernier Caliper In Millimeters, Reading: 0.02 mm.

    In this post we will see: How to read a Vernier Caliper in millimeters, vernier scale: 0.02 mm.

    Vernier Caliper In Millimeters

    And as with the other cases, it is simple and easy to perform. So, let´s start.

    The Caliper has two elements that intervene in the measurement, these are: the main scale and the vernier scale.

    The main scale is divided in all lenght and it have a minimun measuring unit, it is a millimeter, while the vernier scale, takes fractional measure readings of the minimun division of the main scale, that is the millimeter.

    Rules For Taking Readings From The Caliper In Millimeters.

    Each division of the main scale is equal to a millimeter.

    For whole measurements, we must see the exactly match of the vernier scale zero with a division of the main scale, also the number ten of the vernier scale matches with a main scale division.

    Example:

    If the main scale zero matches with the vernier scale zero, and the number ten of the vernier scale matches with a main scale division, we have a zero millimeters reading.

    If matches five divisions of the main scale with the vernier scale zero, and the number ten of the vernier scale matches with a main scale division, we have a five millimeters reading.

    If matches twenty two divisions of the main scale with the vernier scale zero, and the number ten of the vernier scale matches with a main scale division, we have a twenty two millimeters reading.

    The vernier scale of the caliper is divide into fifty equal parts.
    if 1 millimeter is divided by fifty equal parts, we obtain 0.02 mm.
    0.02 millimeters is the caliper apreciation and is the minimun measure reading that this instrument can read, it is representaing by a small división in the vernier scale, that is, each vernier scale division is equal to 0.02 millimeters or two hundredths of millimeter.

    Five divisions of the vernier scale are then five times 0.02, it is equal to 0.1 millimeters or one hundredth of millimeter, it is represented by one big division in the vernier scale.

    One hundredth of millimeter is represented with the number one in the vernier scale of the caliper.

    Two hundredths of millimeter are represented by the number two.

    Three hundredths of millimeter are represented by the number three and so on.

    Now, for taking measurements reading with the vernier scale, the only rule is see the division of the vernier scale that matches exactly with a division of the main scale, multiply it by 0.02 and add the whole number that is in the main scale before the vernier scale zero.

    Also, you can interested in: How to read a Vernier Caliper in Fractional Inches.

    Examples:

    In the main scale, to the left of the vernier scale zero there are nine divisions, it means that we have nine whole millimeters, in the vernier scale matches the thirteen division with a main scale division, so, we must to aply the next procedure:

    Main reading:”L”, is equal to main scale reading: “A” plus vernier scale reading: “B”.

    “A” reading is length that corresponds to the whole numbers and it is nine millimeters plus “B” reading is length that corresponds to the vernier caliper reading and in this example is:

    0.02 times thirteen divisions equals, 0.26 millimeters.

    So, main reading is: nine millimeters plus 0.26 millimeters equals to 9.26 millimeters.

    In the main scale, to the left of the vernier scale zero there are zero divisions, it means that we have zero whole millimeters, in the vernier scale matches the 47 division with a main scale division, so, we must to aply the procedure:

    Main reading:”L”, is equal to main scale reading “A” plus vernier scale reading “B”.

    “A” reading is length that corresponds to the whole numbers and it is zero millimeters plus “B” reading is length that corresponds to the vernier caliper reading and in this example is:

    0.02 times 47 divisions equals, 0.94 millimeters.

    So, main reading is: zero millimeters plus 0.94 millimeters equals to 0.94 millimeters.

    54 whole millimeters to the left of the vernier scale zero.

    In the vernier scale, matches the 23 division with a main scale division, it means 0.02 times 23 divisions, equals to 0.46 millimeters, so, main reading is 54 millimeters plus 0.46 millimeters equals to 54.46 millimeters.

    I hope this information is useful and helpful to you.

    Remember to subscribe in my channel:

    YouTube

  • How to Read a Vernier Calliper in Fractional Inches

    In this post I want to share you How to read a vernier calliper in fractional inches, Welcome!

    Read a Vernier Calliper in Fractional Inches

    Reading a vernier caliper in fractional inches is simple once the units in which it is divided are mastered and understood.

    However, we must take into account that we work in fractions of an inch, and these are subdivided into smaller expressions and that these subunits are also expressed as a fraction.

    So, this article is structured in four parts:

    Part 1: understanding the inch,

    Part 2: understanding the sub units of the Inch.

    Part 3: understanding the vernier vernier in Inches.

    Part 4: reading examples.

    1. Understanding the inch:

    An inch is divided into 16 equal parts. If you take a part of these 16 you get a fraction: 1 / 16in. Therefore, 16 parts each of 1/16, joined or added together will result in 16/16.

    Now, if the previous fraction is given a basic operation such as division, that is, if 16 is divided by 16, the result is 1; 1 inch.

    But, why a division?
    Simply because the fractions are a division, yes, a division of the numerator versus the denominator, understanding that the numerator is the number that is in the upper part of the fractional and denominator is the number that is below the fractional.

    With these basic concepts of fractionaries we can understand a little better the management and the reading of fractions of the vernier in inches.

    THE VALUES OF THE VERNIER IN FRACTIONAL INCHES
    As stated earlier, if you take 1 part of the 16 in which the inch is divided, you get 1/16. If 2 parts are taken means that 1/16 should be added 1/16
    To add two fractions, you must first observe their denominators, if denominators are equal, the result of add will be another fractionary with same denominator, in this case, the denominator of the two fractions is 16, that is, the fractional result will have as denominator 16.
    Now, we proceed to operate the numerators of the two fractions, So then add 1 + 1 result is 2, so the total value of add 1/16 + 1/16 is 2/16.
    2/16 is a number that can be simplified, then, taking halves in numerator we get 1 and again, taking half in denominator we get 8, therefore, after simplifying 2/16 an equivalence is obtained; 2/16 is equivalent to 1/8.

    All the fractionaries of the vernier calliper in inches are SIMPLIFIED!

    Now we go with the third fractionary, remember that there are 16 fractionaries that make an inch in the vernier calliper.

    The third fractionary is then add to 1/8 1/16

    To add two fractions and correct the read a vernier calliper in fractional inches First, the denominators must be observed, in this case, the denominators are NOT the same, therefore the addition can not be made directly as in the previous case. But this is not a matter of worry.

    In order not to complicate the exercise much, I will work with the concept of fraction amplification.

    1/8 + 1/16

    First, you should observe the denominators of the two fractions and take the lower value, then the lowest value is 8 which belongs to 1/8 and taking advantage of that is an exact divisor of 16, we will multiply it or amplify it we have in such a way that we get instead of 8, 16 for this, you must multiply 1/8 by 2 in both the numerator and the denominator:

    1/8 X 2 = 2/16.

    Now you can add the fractional as they have the same denominator:

    2/16 + 1/ 16

    And it applies again the same process that in the first sum is left the same denominator, number 16 and add the numerators or the 2 and 1 which result is 3.

    So, the value of the third fractional in inches in the vernier calliper is 3/16.

    let´s go for the fourth fractional in the vernier calliper.

    3/16 + 1/16 = 4/16, and simplifying is 1/4

    let´s go for the fifth fractional in the vernier calliper:

    1/4 + 1/16 = 5/16

    The Sixth fractional is add to the previous 1/16

    5/16 + 1/16 = 6/16 and simplifying is 3/8

    The Seventh fractional is add to the previous 1/16

    3/8 + 1/16 = 7/16

    The Eighth fractional is add to the previous 1/16

    7/16 + 1/16 = 8/16 and simplifying is 1/2

    The Ninth fractional is add to the previous 1/16

    1/2 + 1/16 = 9/16

    The Tenth fractional is add to the previous 1/16

    9/16 + 1/16 = 10/16 and simplifying is 5/8

    The Eleventh fractional is add to the previous 1/16

    5/8 + 1/16 = 11/16

    The Twelfth fractional is add to the previous 1/16

    11/16 + 1/16 = 12/16 and simplifying is 3/4

    The Thirteenth fractional is add to the previous 1/16

    3/4 + 1/16 = 13/16

    The Fourteenth fractional is add to the previous 1/16

    13/16 + 1/16 = 14/16 and simplifying is 7/8

    The Fifteenth fractional is add to the previous 1/16

    7/8 + 1/16 = 15/16

    The Sixteenth fractional is add to the previous 1/16

    15/16 + 1/16 = 16/16 = 8/8= 4/4 = 2 /2 = 1 inch.

    As I said at the beginning, an inch is equivalent to 16/16

    Vernier of the vernier calliper

    The vernier of the vernier calliper divides a 1/16 in 8 equal parts , this is:

    (1/16) / 8

    In order to divide a fractional by a whole number, becomes the whole number to fractional. This is accomplished adding to the whole a denominator and the value to be always added is the unit or is the number one (1).

    8 = 8/1

    Now it is possible to make the division of two fractional numbers.

    Divide 1/16 by 8/1

    and proceed to perform the operation
    Turn the second fraction upside down (reciprocal)

    1/16 X 1X8 (reciprocal)

    now Multiply the first fraction by that reciprocal

    1/128

    and Simplify the fraction (if needed)

    the result is 1/128

    In the vernier calliper in inches, the smallest unit you can get is 1/128 inch.

    1/128+1/128 = 2/128 =1/64

    1/64+1/128 = 3/128

    3/128+1/128= 4/128 = 2/64 = 1/32

    1/32 + 1/128 = 5/128

    5/128 + 1/128 = 6/128 = 3/64

    3/64+1/128= 7/128

    7/128+1/128= 8/128= 4/64=2/32 = 1/16

    in conclusion 8/18 is equivalent to 1/16 inch.

    Rules for taking readings from the vernier calliper

    1. Count the positions in the rule before the zero of the vernier.
    2. verify the division of the vernier that matches exactly a division of the ruler in inches.
    3. If the first or the third or the fifth or the seventh division of the vernier coincides with one of the rule, then the number of divisions of the rule that are before the zero of the vernier by 8 is multiplied. If the first division of the vernier coincides with one of the rule is added 1, if the third division of the vernier coincides with one of the rule is added 3, if the fifth division of the vernier coincides with one of the rule is added 5 and if the seventh division of the vernier coincides with one of the rule is added 7,the previous value is the fractional numerator, the denominator is 128.

    4.If the second or the Sixth divsion of the vernier coincides with one of the rule, then the number of divisions of the rule that are before the zero of the vernier by 4 is multiplied.If the second division of the vernier coincides with one of the rule is added 1 and if the sixth division of the vernier coincides with one of the rule is added 3,the previous value is the fractional numerator, the denominator is 64.

    5.If the Fourth divsion of the vernier coincides with one of the rule, then the number of divisions of the rule that are before the zero of the vernier by 2 is multiplied and added 1. the previous value is the numerator of the fractional, the denominator is 32.

    If in the fractional reading of the vernier calliper in inches the zero of the vernier passes from the number one of the rule, means that an inch has been exceeded therefore to the reading in fractions must be added the value indicated in the rule before the fractional.

    Examples of Fractional Reading in Inches in the Vernier Calliper

    3/4 in.

    Read_a_Vernier_Calliper_in_Fractional_Inches_3_4

    5/64 in.

    Read_a_Vernier_Calliper_in_Fractional_Inches_5_64

    19/128 in.

    Read_a_Vernier_Calliper_in_Fractional_Inches_5_64

    25/32 in.

    Read_a_Vernier_Calliper_in_Fractional_Inches_5_64

    11/128 in.

    Read_a_Vernier_Calliper_in_Fractional_Inches_11_128

    3/16 in.

    Read_a_Vernier_Calliper_in_Fractional_Inches_3_16

    15/128 in.

    Read_a_Vernier_Calliper_in_Fractional_Inches_15_128

    127/128 in.

    Read_a_Vernier_Calliper_in_Fractional_Inches_127_128

    2 1/2 in.

    Read_a_Vernier_Calliper_in_Fractional_Inches_2_1_2

    If you liked the information you just delivered about How to Read a Vernier Calliper in Fractional Inches, then please help me with the rating that is below this post.

    Thank you very much.

    You might also be interested in:

    YouTube

  • How to Obtain the 5.03937 Constant?

    What is the 5.03937 Constant? well, I have the need to share this information, because there are many visitors and subscribers of the YouTube channel who ask me this very often: How to Obtain the 5.03937 Constant?

    5.03937 Constant


    This constant is part of the method to convert millimeters to fractions of known inches.

    The constant is actually 5.03937/128, a value that is in inches.

    If we divide this figure or the numerator against the denominator the result is 0.03937 inches which is equivalent to 1 millimeter.

    Now, if you have a value in millimeters and if it is multiplied by 1, nothing happens, the value in millimeters does not change.

    What I do in my method is multiply a value in millimeters by a special 1.

    This special value is a fraction that is in inches (5.03937/128). With this I get a fractional in inches.

    The value 5.03937 went from looking for a number that met a condition:

    Find a figure that is equivalent to 1 mm. in inches (0.03937) and at the same time having the denominator value 128:

    This way we obtain a simple equation:

    0.03937 = X/128

    Now we are going to clear the variable X

    then, 128(0.03937) = X
    Resolving: X = 5.03937

    That’s the whole thing, it’s not hard.

    I hope this information will help and that when you take your conversion exams and if your teachers ask you where you got the 5.03937 constant, you can explain this method.

    YouTube

  • How to Convert Millimeters to Fractional Inch Known

    How to Convert Millimeters to Fractional Inch Known

    Many times in my practice life has presented me a little problem, How to convert millimeters to fractions known inch ?.

    It is well known by all that in order to convert millimeters to inches, what we do is split between 25.4 millimeters or multiply by 0.03937 mm, which will give us results in a figure mils. Well then, after a good time experimenting and doing some calculations with fractions and integers, I found an easy way to solve this little dilemma and today I want to share it with you, so without further ado here are the steps:

    1. millimeters are taken and multiplied by “5.03937”
    2. This operation is positioned as the numerator in a new fraction.
    3. This fraction is placed as the denominator the number “128”.
    4. The fraction is simplified to a minimum.

    Here is an example:


    We all know that 1/2 ” is equivalent to 12.7 millimeters, now see if the above procedure serves to convert millimeters to known fractions of an inch .

    1. 12.7 x 5.03937 = 63.999999, which is equivalent to 64 in our case
    2. Now we set up a fraction whose numerator is the previous result, or 64 / .
    3 Then it is so; 64/128
    4. mímima simplifying its previous fractional expression we have: 64/128 = 32/64 = 16/32 = 8/16 = 4/8 = 2/4 = 1/2

    The latter value is an irreducible term, so it is the value that we need find, then using this process have found that 12.7 mm is equivalent to 1/2 “.

    Now another example:

    To that fractional amounts 7.54?

    7.54 X 5.03937 = 37.99, is approximately 38, then left and 38/128 “= 19/64”.

    This procedure is váildo or apply for all fractions caliper or gauge measuring range whose minimum is 1/128 “.


    And more: On-Line Calculator whit this procedure: https://www.easymetalworking.mahtg.com/conversores/convert-millimeters-to-inches.html